guides / how to
How to Camp in the Rain Without Ruining Your Trip
Use a go-or-no-go matrix, drainage test and dry-zone plan to camp comfortably in ordinary rain—and know when weather makes leaving the right call.

Camping in ordinary rain can be comfortable if you protect three things: a safe site, one genuinely dry sleep system and a covered living area. Set the tarp before unpacking, keep wet gear out of the tent, ventilate the shelter and unpack the tent to dry as soon as you get home.
That advice stops when the problem is no longer ordinary rain. Thunder, flash flooding, dangerous wind and cold stress are not “bad camping weather” to endure for character development. They are reasons to use your exit plan.
The 60-second go-or-no-go matrix
Use the official forecast and alerts for the campground—not the weather at home—then make the decision below. The campground or land manager's closure, evacuation or fire instructions always win.
| What the forecast or site shows | Decision | What to do |
|---|---|---|
| Light or steady rain; no hazardous-weather alert; roads and site remain open | Go, with a wet-weather system | Bring a tested shelter, tarp, dry sleep layer and indoor backup activity |
| Thunderstorms possible and a substantial building or hard-topped vehicle is quickly reachable | Go only with a timed shelter plan | Know the route before pitching and assign one person to monitor alerts |
| Thunder is heard or lightning is seen | Leave the tent and tarp | Move to a substantial enclosed building or hard-topped vehicle; wait at least 30 minutes after the last thunder before returning |
| Flood watch, rising water, water crossing the access road, or a site beside a wash, ravine or stream | Relocate or leave | Move to higher ground; never walk or drive into floodwater |
| Cold rain plus shivering, confusion, fumbling hands or worsening fatigue | Stop and warm the person | Get into shelter, remove wet clothing, warm the body's centre and seek medical help as conditions require |
| Closure, evacuation order or site instruction from staff | Leave | Follow the official instruction, even if your own campsite still looks calm |
The National Weather Service is blunt: a tent and an open-sided picnic shelter are not safe lightning shelters. Its flood guidance also warns that rain upstream can turn a quiet stream dangerous even when it is not raining directly over you. The CDC notes that hypothermia can occur above 40°F/4°C when someone is chilled by rain, sweat or cold water.
Build a three-zone rain camp
The most useful wet-weather plan is not a longer packing list. It is a campsite with three jobs that do not overlap.
| Zone | Purpose | What belongs there | What must stay out |
|---|---|---|---|
| Sleep zone | Protect warmth and recovery | Tent, sleeping bags, pads, sleep clothing | Food, wet shells, boots and any flame |
| Living zone | Give the group somewhere to exist | Tarp, seats, games, meal prep and lighting | Fabric touching a hot stove; runoff aimed at the tent |
| Wet zone | Contain water and mud | Boots, rain shells, drip line, towels and a wet-gear bin | Sleeping bags and tomorrow's dry clothing |
This is the difference between “everything is damp” and “some equipment is wet.” Rain compresses a campsite; zones stop it from compressing your standards.
Before leaving: pack one dry reset
You do not need duplicate everything. You need one complete set of items that remains dry until camp is established:
- sleep clothing sealed in a dry bag or intact plastic bag;
- sleeping bag and insulating pad protected during transport;
- one working light per person;
- warm mid layer and waterproof outer layer;
- dry socks and footwear plan;
- towel or absorbent cloth for the tent interior;
- tarp, cord and stakes accessible before the bins buried under them;
- offline reservation, map, alerts and exit route;
- separate container for wet clothing on the way home.
Choose wool or synthetic layers for cool wet conditions. Cotton can hold moisture and loses insulating performance when wet. The goal is not to dress like a catalogue model; it is to avoid ending the day with every layer committed to the same puddle.
Copyable wet-weather plan
Fill this out before the trip:
| Decision | Your answer |
|---|---|
| Official forecast and alert source | |
| Safe lightning shelter | |
| Walking time from site to shelter | |
| Higher-ground route | |
| Road or crossing most likely to flood | |
| Person monitoring weather | |
| Time of final forecast check | |
| Location of sealed dry clothing | |
| Plan B if the campsite is unsafe |
If you cannot fill in the safe-shelter and exit-route lines, that is information—not paperwork failure.
The five-minute drainage test
Before unloading, walk the site as if you were a cup of water with opinions.
- Find the local high point. You need only a slight rise, not the most exposed knoll in the campground.
- Look uphill. Avoid the base of slopes and any surface that funnels runoff toward the tent.
- Read the debris. Flattened grass, silt lines, exposed roots and small channels show where water has already travelled.
- Check the escape route. A dry tent is not helpful if the only road out crosses rising water.
- Look up. Avoid dead, damaged or hanging branches, especially when wind is forecast.
- Respect the designated pad. Do not create drainage trenches, move vegetation or expand into a protected area.
Do not pitch beside a stream, in a wash or on low ground because it looks level. According to NWS flood guidance, distant rain can feed gullies and ravines quickly, and even a slight rise in water is a reason to move to higher ground.
Set up in the order that keeps dry things dry
The order matters more than speed.
- Put on rain layers and keep the sleep system sealed.
- Pitch the living-area tarp first, if conditions are safe and the site permits it.
- Move the sealed gear beneath cover.
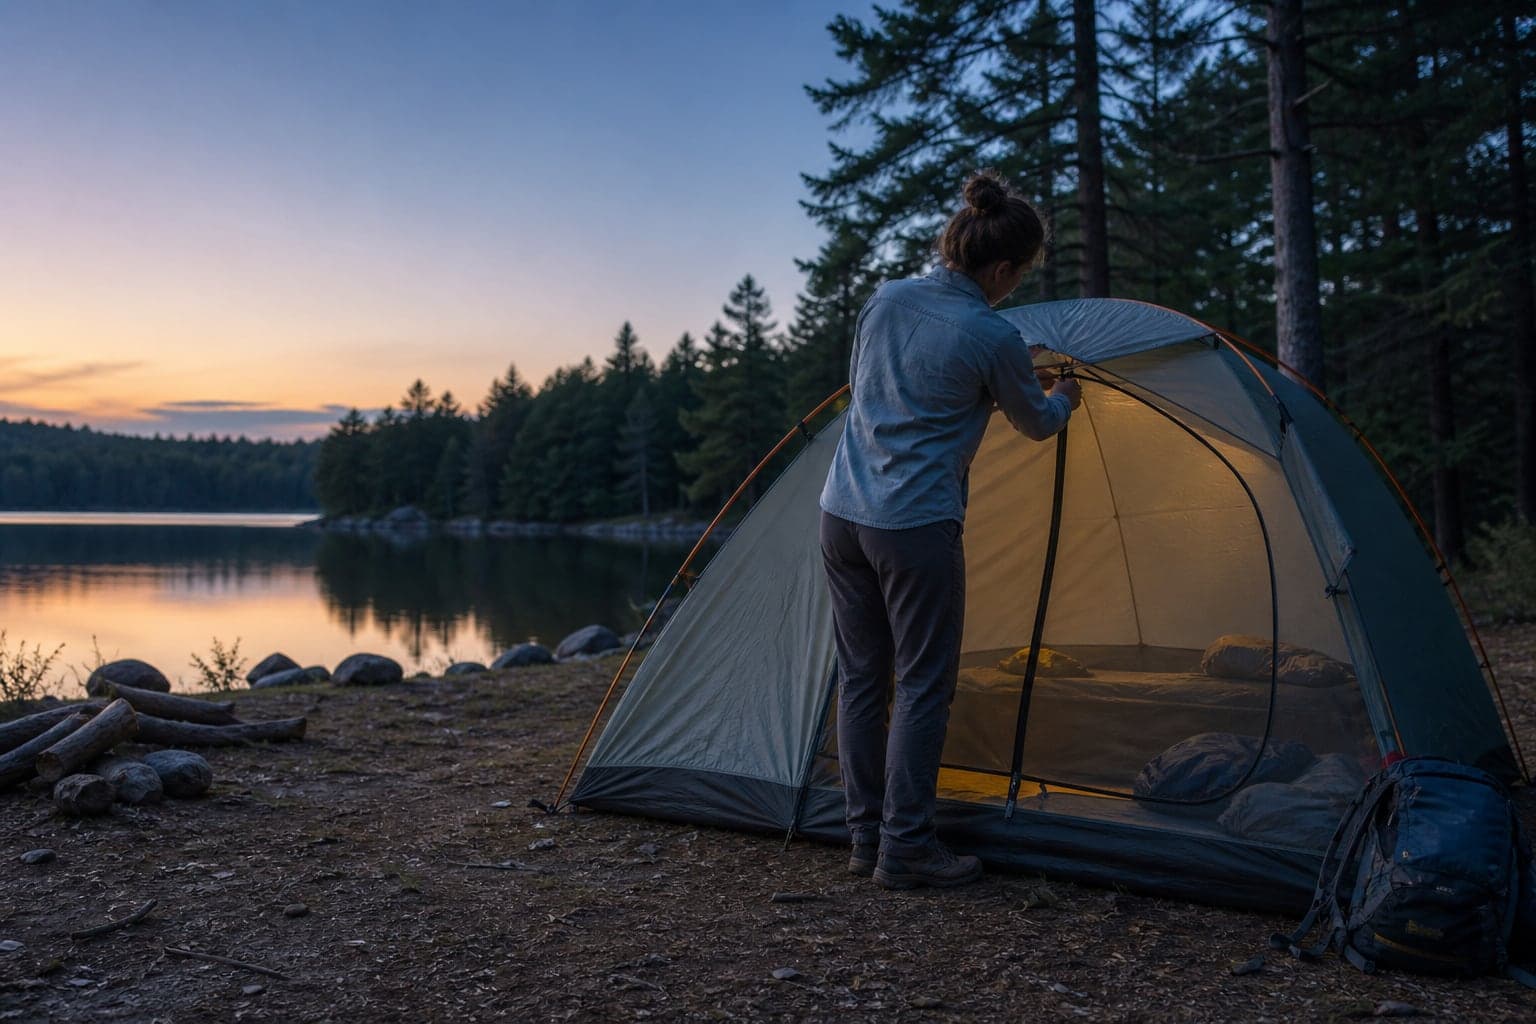
- Pitch the tent using its manufacturer's instructions. Use a fly-first configuration only if the model is designed for one.
- Attach and tension the rainfly and guylines. Keep the fly separated from the inner tent where the design requires an air gap.
- Tuck the footprint fully beneath the tent floor. No exposed edge should collect runoff.
- Build the wet zone at the entrance.
- Only then unpack bags, pads and dry clothing.
Face the door away from wind-driven rain when the site layout allows it. Keep ventilation openings working rather than sealing every gap. A sealed tent can become wet from the inside even when its waterproof layer is doing its job.
Tent condensation or a leak? Use the pattern
Water inside a tent has several possible routes. Diagnose before reaching for seam sealer.
| Evidence | More likely explanation | First response |
|---|---|---|
| Fine moisture spread across upper walls or ceiling, especially near sleepers | Condensation | Open protected vents, increase airflow, keep wet gear outside and wipe interior moisture |
| Water begins at one seam, zipper or damaged patch and tracks downward | Leak or wind-driven entry | Photograph and mark the point; inspect seam treatment and fabric when dry |
| Floor is wet mainly underneath gear or sleepers | Condensation, transferred wet gear or pressure on saturated ground | Separate wet items, use the designed tent pad and check the footprint is tucked in |
| Water enters from the doorway | Entry routine or door facing wind | Close the door promptly and move the wet zone farther outside |
| Water pools between footprint and floor | Exposed footprint edge or runoff | Tuck the footprint fully under the floor and relocate if drainage is poor |
Breathing and wet equipment add moisture to the tent air. When that air meets cool fabric, water can condense. Ventilation reduces condensation; it does not promise a perfectly dry inner wall in every combination of humidity, temperature and occupancy.
If one point repeatedly wets during controlled rain while the rest stays dry, inspect that specific seam or fabric area after the trip. Follow the tent maker's cleaning, seam-treatment and warranty instructions rather than applying a random coating to everything.
Cooking and living safely under cover
Use the tarp as weather cover only when you can maintain the stove manufacturer's required clearance and open-air operating conditions. Keep flames away from tent fabric, low tarps, dry vegetation and traffic paths.
Never cook or run a portable fuel-burning heater, lantern or stove inside a tent or enclosed sleeping space. The U.S. Consumer Product Safety Commission warns that these products can create lethal carbon monoxide in tents, campers and vehicles. An open flap is not a safety system.
Keep the tent as the sleep zone. Store food and scented items exactly as the park requires—in a hard-sided vehicle, provided locker or approved container where applicable—not in the tent. For meals, start with easy camping meals that reduce prep and washing.
Pack a wet tent without soaking everything else
If the rain continues:
- Pack sleeping bags, pads and sleep clothing while still inside the dry zone.
- Move sealed dry gear to the vehicle or beneath the tarp.
- Remove interior moisture with the camp cloth.
- Take down the tent body and fly last.
- Put wet shelter pieces in their own bag or bin, away from insulation and clothing.
- Count stakes and poles before leaving.
Packing a tent wet for the drive home is sometimes unavoidable. Storing it wet is not.
The at-home recovery checklist
As soon as practical after returning:
- unpack the tent even if unpacking is the last thing you want to do;
- hang or pitch the fly, body and footprint with airflow;
- dry seams, pole sleeves, stakes and stuff sacks;
- clean only according to the manufacturer instructions;
- inspect the point of any suspected leak when the fabric is dry;
- dry sleeping bags and pads before storage;
- restock the dry-clothing and wet-gear bags for the next trip.
Do not promise yourself you will remember the damp tent tomorrow. Tomorrow is how a tent spends a week becoming a biology project.
A rain plan worth saving
The shortest useful version is:
Monitor hazards → choose draining ground → tarp first → protect one dry reset → separate wet and sleep zones → ventilate → pack shelter last → dry it at home.
For the rest of the loadout, use the ultimate camping checklist. If children are coming, pair the dry-zone plan with rainy-day camping activities for kids so the tarp protects morale as well as equipment.
FAQ
Is it safe to camp in the rain?+
Ordinary rain can be manageable with a sound shelter, draining site, dry clothing and an exit plan. Thunder, flood risk, dangerous wind, closures and cold stress change the decision. Follow current alerts and campground instructions rather than judging by rainfall alone.
Where should you put a tent when it is raining?+
Use a designated, slightly raised, well-drained spot away from washes, ravines, stream banks, slope bottoms and damaged overhead branches. Check where runoff has travelled before unloading and make sure the route out will remain usable.
How do you set up a tent in rain without soaking it?+
Keep the sleep system sealed, pitch a permitted tarp first, move gear under it, then pitch the tent according to its instructions. A fly-first pitch helps only when the tent is designed for it. Tension the fly, tuck the footprint beneath the floor and create a wet zone at the entrance before unpacking bedding.
How can you tell tent condensation from a leak?+
Condensation usually appears as fine moisture spread over cool upper surfaces. A leak is more often localized at a seam, zipper, damaged area or wind-facing opening and leaves a track. Ventilate first, separate wet gear, then mark and inspect any repeatable entry point when the tent is dry.
Can you cook under a tarp in the rain?+
Only if the stove manufacturer permits the open-air setup and all required clearances from fabric, people and vegetation can be maintained. Never cook or run a portable fuel-burning appliance inside a tent or enclosed sleeping space.
What should you do with a wet tent after camping?+
Transport it separately from dry gear, then unpack and dry the fly, body, footprint, seams, stakes and stuff sacks as soon as practical. Clean and re-treat materials only according to the manufacturer instructions.
Sources reviewed
Fact-checked Sep 4, 2026
These references support factual or safety-sensitive claims in this article. Access dates show when our editors last verified the source.
- National Weather Service — Lightning Outdoors
Official source · Accessed Sep 4, 2026
- National Weather Service — Flood Safety for Camping and Hiking
Official source · Accessed Sep 4, 2026
- CDC — Preventing Hypothermia
Official source · Accessed Sep 4, 2026
- U.S. Consumer Product Safety Commission — Portable Heaters and Camping Equipment
Official source · Accessed Sep 4, 2026
- Parks Canada — Camping Checklist
Official source · Accessed Sep 4, 2026