guides / how to
How to Set Up a Tent
Set up a tent without forcing poles or guessing at tension: follow the model-specific sequence, orient the site, fit the footprint, stake securely, and diagnose a bad pitch.

The first rule of tent setup is annoyingly uncinematic: use the instructions for your exact tent. Pole geometry, clips, sleeves, hubs, fly buckles and staking order vary. Even tents from the same manufacturer may not rise in the same sequence.
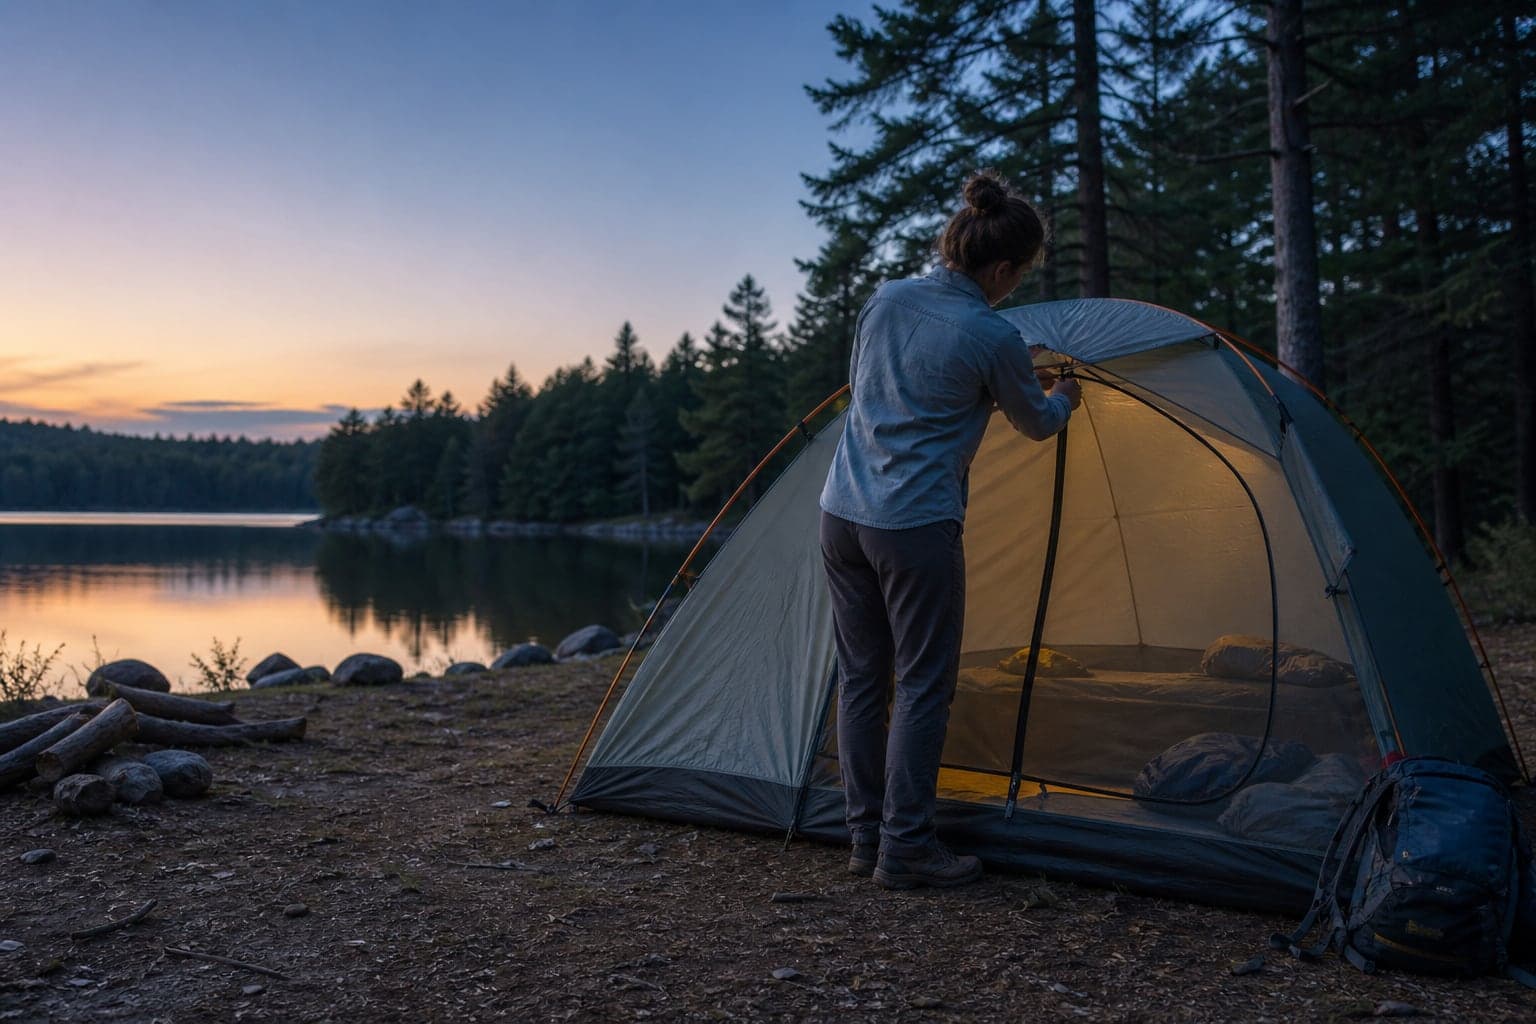
The general process is still predictable: inspect the site, orient the doors, place the footprint, assemble the frame, attach the body and fly, anchor everything, then tune the tension. The model manual decides the details.
Before the trip: perform the setup that matters most
Pitch a new or unfamiliar tent once at home. MSR explicitly recommends this so you can learn the sequence and attach guylines before darkness or bad weather adds commentary.
During that practice pitch:
- match every pole, stake, cord and repair part to the packing list;
- save the manual offline or photograph both sides of it;
- identify color-coded corners and the front of the rainfly;
- learn which loops are structural guylines rather than decoration;
- check that the packed tent fits back into its bag without a wrestling match.
This is also the moment to discover that the tent has two doors but the footprint has a front and a back. Campsite 37 is a poor classroom for that lesson.
1. Choose the site before unpacking everything
Use the designated tent pad where one is provided. Otherwise, choose firm, relatively level ground that drains rather than a depression where water can collect. Look overhead for unstable or dead branches, check the forecast and local rules, and move loose sticks or sharp stones by hand without excavating or altering the site.
If there is a slight slope, sleeping with your head uphill is usually more comfortable. If water already flows through the spot, however, changing pillow direction will not rescue it. Choose another site.
Our camping-in-the-rain guide covers the larger wet-weather decision, including when the site itself is the problem.
2. Decide where the doors and vestibules need to go
Before inserting a pole, stand where the tent will sit and picture the finished footprint:
- Can every door open without meeting a tree, fire ring or neighboring site?
- Is there room to stake the vestibules and guylines?
- Will normal foot traffic cross a guyline after dark?
- Does the manufacturer's preferred wind orientation change where the doors should face?
There is no universal compass direction for a tent door. In exposed weather, the tent manual and wind-facing design matter more than the view. On a calm developed site, a practical door and vestibule layout may matter more.
3. Keep the footprint beneath the floor
A model-specific footprint may be slightly smaller than the tent body on purpose. Big Agnes says its footprints are designed about two inches smaller so they do not collect rain and redirect it underneath the floor.
If you use a generic groundsheet, tuck every edge beneath the tent. An exposed blue-tarp border looks tidy until it becomes a rainwater collection system.
Do not assume a footprint is required for every model or surface. It primarily adds abrasion and moisture protection; consult the tent manufacturer for compatibility, especially for fly-only configurations.
4. Assemble poles by hand and follow the model sequence
Seat each pole section fully by hand. Do not let the shock cord snap sections together, and do not force a pole that appears too short. MSR warns that much pole damage happens during setup; a half-seated joint concentrates stress where the pole was not designed to carry it.
Now follow the manual. Some tents instruct you to stake the four corners before raising the frame. Others raise first and anchor immediately afterward. Some use crossing poles, a hub or a short ridge pole with its own pockets.
If colors, clips or grommets do not align, stop. The likely explanation is an incorrect orientation or connection—not a sudden need for more upper-body strength.
For sleeved tents, push the pole through the sleeve instead of pulling it. Pulling can separate sections inside the fabric and turn a simple setup into a long search for the joint you can no longer see.
5. Attach the body and rainfly without improvising
Connect clips, sleeves and pole tips in the documented order. Drape the rainfly so its doors match the tent doors and its colored webbing or seams align with the frame. Attach any hook-and-loop tabs beneath the fly to the corresponding poles; on models that include them, these connections help the fly and frame work together.
Stake vestibules far enough out to open properly, then tension the fly evenly. The goal is a stable, shaped shelter—not fabric tuned like a drum. Excess tension can distort doors and make zippers fight their own geometry.
6. Anchor the tent and use the guylines provided
A freestanding tent can stand without stakes. That does not mean it should sleep without them. MSR's manual says all its tents, including freestanding models, require anchoring because a gust can move an unsecured shelter.
Use the stake orientation specified by the manufacturer and choose stakes suited to the ground. Coleman illustrates stakes driven at roughly 45 degrees away from the tent; other designs and soil conditions may call for a different placement. Rock, sand, snow and soft forest soil do not hold the same stake equally well.
Tension opposing points gradually instead of tightening one corner completely. Stake the structural guylines when weather or the manual calls for them, and keep lines visible and out of normal walking routes where possible.
7. Tune ventilation and rainfly clearance
Open the vents designed to remain usable in rain. Adjust fly corners and guylines so the fly is reasonably taut and separated from the inner tent where the design allows. MSR notes that guying reduces fabric droop and rainwater pooling; ventilation also helps manage interior humidity and condensation.
Condensation can feel like a leak. Before blaming waterproofing, check whether the vents were closed, wet equipment was stored inside, or the fly sagged against the inner wall.
Tent setup troubleshooting
This is the part worth saving offline. A seven-step list tells you what should happen; the table helps when it does not.
| What you see | Likely cause | What to do |
|---|---|---|
| A pole will not reach its corner | A joint is not fully seated, the pole is reversed, or a ridge pole is in the wrong position | Stop forcing it. Reseat every joint and compare colors and geometry with the manual |
| A pole separates inside a sleeve | It was pulled rather than pushed, or a joint was not seated | Feed slack back toward the separation, reconnect it gently, then push the assembled pole through |
| The rainfly door does not match the body | The fly is rotated or reversed | Find the door, logo, colored webbing or seam alignment before tightening anything |
| The zipper needs two hands to close | The body or fly is unevenly tensioned | Loosen the most tensioned corner, square the structure and retension gradually |
| The fly touches the inner tent | Corners or guylines are slack, a fly-to-pole tab is loose, or the pitch is out of square | Recheck attachments and add even tension without over-tightening |
| Water pools on the fly | The fly is slack or a required guy point is unused | Retension after the fabric becomes wet and use the documented guy points |
| Water collects beneath the floor | The groundsheet extends outside the floor or the site drains into the tent | Tuck the groundsheet fully underneath; move if the site itself channels water |
| Stakes pull out | Stake type, orientation or soil is a poor match, or load is uneven | Follow the manual, use soil-appropriate anchors and distribute tension across the available points |
| The tent flaps loudly | The fly or guylines are loose, or the shelter is poorly oriented for the wind | Retension from opposing sides and use all relevant structural guylines |
If a pole, hub, clip or fabric panel is damaged, use the manufacturer's approved repair method. A field splint may stabilize some broken pole sections temporarily, but it does not restore the tent's original strength.
When to stop adjusting and change the plan
A better pitch cannot make every campsite or forecast appropriate. Move or use another shelter when:
- branches or unstable trees threaten the site;
- water is flowing or pooling through the tent pad;
- wind exceeds what the shelter and anchors can reasonably manage;
- required structural parts are missing or broken;
- local rules prohibit the setup or anchoring method;
- the only way to make the tent stand is to force a pole or overload a connection.
That is not setup failure. It is the useful decision the setup process exposed.
Taking the tent down
Remove gear, shake out debris and reverse the model's setup sequence. Push poles out of sleeves, separate sections without letting the shock cord snap them around, and keep stakes and small parts together.
If the tent must be packed wet, unpack and dry it as soon as practical. Before the next trip, replace damaged cord, bent stakes or missing repair pieces rather than rediscovering the problem at dusk.
Our ultimate camping checklist covers the rest of the shelter and sleep system, while the beginner camping guide connects setup to the larger first-trip plan.
FAQ
What is the correct order for setting up a tent?+
Use the instructions for the exact model. The general sequence is site and orientation, footprint, frame, tent body, rainfly, anchors, guylines and final tension—but some tents require the corners to be staked before the poles while others use a different frame order.
Should a tent footprint extend beyond the floor?+
No. Keep it completely beneath the tent floor. A model-specific footprint may intentionally be slightly smaller so it cannot collect rain and redirect water underneath the tent.
Why will my tent pole not reach the corner?+
Stop forcing it. Check that every joint is fully seated, the pole is oriented correctly, colors match the correct corners and any ridge pole or hub is in its documented position.
Does a freestanding tent need stakes?+
Yes in normal outdoor use. Freestanding describes the frame, not wind security. Anchor the tent and use the structural guylines required by its manual and the conditions.
Sources reviewed
Fact-checked Aug 30, 2026
These references support factual or safety-sensitive claims in this article. Access dates show when our editors last verified the source.
- MSR — Tents and Shelters Owner's Manual
Official source · Accessed Aug 30, 2026
- Coleman — Tent Camping and Setup Guide
Official source · Accessed Aug 30, 2026
- Big Agnes — Footprint FAQs
Official source · Accessed Aug 30, 2026