guides / beginners
How to Plan Your First Camping Trip (Step by Step)
Plan a first car-camping trip with a campground scorecard, booking timeline, one-page trip brief, Plan B and pre-departure test.
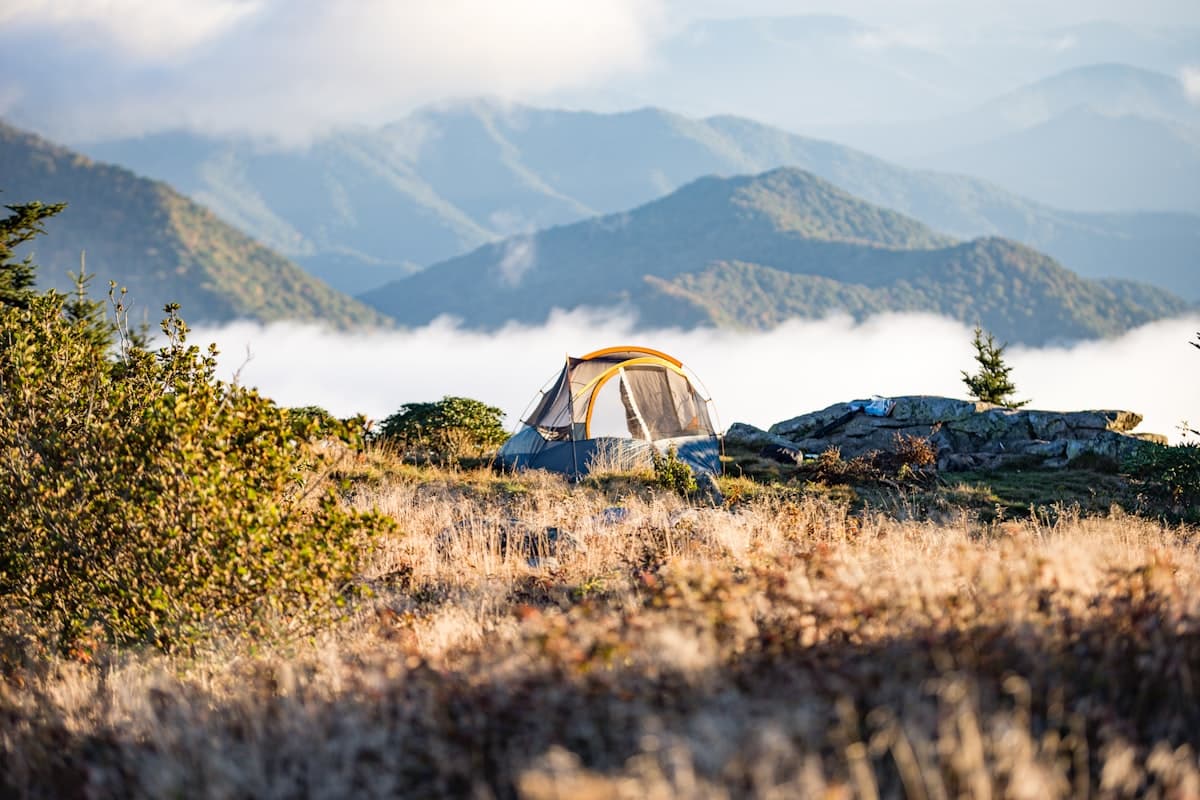
For a first camping trip, choose one or two nights of car camping at a reservable campground with potable water, toilets and a staffed contact, close enough to leave if the plan stops working. Book the site first, test shelter, sleep, light and cooking at home, then keep the meals and activity list deliberately small.
That is the short answer. The useful part is turning it into your trip.
Start with a first-trip brief
Fill this page before shopping. If a box is blank, you have found the next decision.
| Decision | Your plan |
|---|---|
| Campground and site number | |
| Dates and number of nights | |
| Campers and accessibility needs | |
| Vehicle and licence plate | |
| Check-in and checkout times | |
| Potable water available? | |
| Toilets and showers available? | |
| Food-storage rule | |
| Current fire rule and official status page | |
| Pet rule, if relevant | |
| Forecast and alert source | |
| Nearest safe lightning shelter | |
| Nearest fuel, groceries and urgent care | |
| Plan B campground or lodging | |
| Trusted contact and check-in deadline |
The National Park Service trip-planning guide recommends checking current conditions, leaving a trip plan, packing essentials and preparing an outdoor emergency plan. Your first-trip brief puts those decisions in one place instead of scattering them across six browser tabs and one optimistic group chat.
Step 1: choose the easiest useful version of camping
Start with frontcountry car camping: the vehicle stays at or near a developed site. You can bring ordinary bedding, a cooler and a larger shelter; facilities and staff may be nearby; and leaving remains practical.
Backcountry camping is a different trip type, not the advanced setting on the same trip. It requires route, permit, navigation, water, load and emergency decisions that a drive-in campground does not. The NPS backcountry guide calls for a detailed itinerary, equipment checks and an emergency contact plan. Learn those skills separately rather than making night one carry all of them.
A forgiving first-trip profile
| Prefer | Why it helps |
|---|---|
| One or two nights | Long enough to learn, short enough to recover from a poor night's sleep |
| Within a manageable drive | Makes a late arrival, forgotten item or early exit less consequential |
| Reservable site | Removes the uncertainty of finding an open site after travel |
| Potable water and toilets | Eliminates two new systems from the first attempt |
| Established tent pad | Simplifies site selection and limits impact |
| Reliable contact or host | Gives you a current source for rules and conditions |
| Moderate overnight forecast | Lets you learn the equipment without testing its limits |
We would choose two nights when the group is comfortable with the idea. One night is a valid systems test, but setup and teardown occupy a large share of it. Three nights can wait until everyone knows the mattress is not secretly a pool float with ambition.
Step 2: score campgrounds before booking
Do not choose only from the hero photo. Score the parts that determine how forgiving the stay will be.
Give each row 0, 1 or 2 points:
| Factor | 0 points | 1 point | 2 points |
|---|---|---|---|
| Drive | Too long for an easy exit | Manageable | Close and familiar |
| Reservation | Walk-up only in busy period | Mixed inventory | Confirmed reservable site |
| Water | Must treat or haul all water | Water elsewhere in campground | Potable source nearby |
| Toilets | None | Basic or distant | Clearly available nearby |
| Site information | Little detail | Some photos or dimensions | Dimensions, surface and restrictions published |
| Weather escape | No practical shelter or exit | Limited fallback | Vehicle/building and clear exit route |
| Food storage | Unclear | Rules published | Required storage available and understood |
| Group fit | Tight or inaccessible | Workable | Fits tent, people and mobility needs |
- 13–16: strong first-trip candidate.
- 9–12: workable if you can fix the weak rows.
- 0–8: save it for later or choose a better-supported site.
This is an editorial filter, not a safety certification. A high score never overrides closures, alerts or local rules.
Step 3: book the site—and read the receipt
Reservation windows, fees and site rules vary by location. Use the land manager's official page, then:
- Check the exact release date and time for your dates.
- Confirm the site allows your tent, vehicle, group size and pets.
- Read check-in, checkout, cancellation and no-show rules.
- Note whether an entrance pass, fire permit or reservation fee is separate.
- Save the confirmation and map offline.
- Add the cancellation deadline and final go/no-go check to your calendar.
Do not copy a booking window from a different park. Even one reservation platform can serve facilities with different rules. For example, Recreation.gov's current policies say location-specific terms supersede its general rules and list separate service, change, cancellation and late-cancellation charges.
Step 4: set Plan B before buying gear
A useful Plan B has a trigger and an action.
| Trigger | Plan B |
|---|---|
| Official closure or evacuation | Cancel or move to the preselected alternative |
| Thunder at camp | Move to the identified substantial building or hard-topped vehicle |
| Access road becomes unsafe | Leave early using the safe route; never enter floodwater |
| Tent or sleep system fails during home test | Borrow, rent, repair per maker instructions or change the trip |
| Camper becomes cold, ill or unable to continue | Stop the activity, use appropriate first aid and leave or seek help |
| Arrival is delayed beyond comfortable setup time | Use the simple first-night meal and headlamps, or activate lodging fallback |
For lightning, a tent and open picnic shelter are not safe shelters; the National Weather Service directs people to a substantial enclosed building or hard-topped vehicle and recommends waiting 30 minutes after the last thunder before returning.
Plan B is not pessimism. It is the reason a change in weather does not require a committee meeting in the parking lot.
Step 5: build four working systems
For trip one, concentrate money and testing on four systems:
| System | Minimum working outcome | Home test |
|---|---|---|
| Shelter | Everyone fits; fly and stakes are present; site dimensions work | Pitch it completely and pack it again |
| Sleep | Each person has insulation below and around them | Inflate pads, check valves and lie down for 20 minutes |
| Light | Each person can walk and use the toilet hands-free after dark | Run every headlamp and pack spare power |
| Food and water | Enough safe water and a permitted way to prepare the written menu | Light the exact stove outdoors as directed; verify fuel and cookware |
Borrow or rent before buying a complete camp catalogue. Parks Canada explicitly supports equipped camping at some locations, though included equipment varies. Our camping cost guide helps compare borrowing, renting and buying, while the ultimate camping checklist covers the full loadout.
Never operate a portable fuel-burning stove, lantern or heater inside a tent or enclosed sleeping area. The CPSC warns that carbon monoxide from camping equipment can kill in tents, campers and vehicles.
Step 6: plan food backwards from meals
A two-night trip usually means:
- arrival-night dinner;
- two breakfasts;
- one lunch plus travel-day food;
- one full dinner;
- snacks and drinks.
Write each meal, then list the ingredient, cold-storage and cookware requirements beside it.
| Meal | Food | Cold storage? | Stove or fire? | Tool that could be forgotten |
|---|---|---|---|---|
| Arrival dinner | ||||
| Breakfast 1 | ||||
| Lunch | ||||
| Dinner 2 | ||||
| Breakfast 2 |
Choose a no-cook or heat-and-eat arrival dinner. Fading light is a poor time to discover a recipe has fourteen steps and the can opener is at home. Use the easy camping meals guide for low-complexity options.
Check the current fire rule shortly before departure. A reserved fire ring does not mean fires are permitted that day. Treat a campfire as optional; make sure the meal plan still works without one.
Step 7: run the driveway rehearsal
Do this several days before leaving, while replacement parts and Plan B are still available.
- Pitch the tent using the instructions.
- Confirm poles, fly, footprint, stakes and guylines fit together.
- Inflate each pad and leave it long enough to reveal an obvious leak.
- Check sleeping-bag ratings against the forecast and each sleeper's needs.
- Operate the stove outdoors exactly as its manufacturer directs.
- Test headlamps and backup power.
- Open the first aid kit and check contents, expiry dates and personal medication.
- Load the vehicle once and confirm the driver can still see safely.
- Download the reservation, map and essential phone numbers for offline use.
End with a physical touch-check at the vehicle: shelter, bedding, water, lights, stove fuel, medication, confirmation and keys. A spreadsheet can claim the tent poles are packed with remarkable confidence.
Step 8: use a 72-hour countdown
72 hours before
- Review official weather, alerts, closures, fire restrictions and road status.
- Confirm every camper's clothing, medication and accessibility needs.
- Freeze ice packs and prepare food.
- Recheck the cancellation deadline.
24 hours before
- Activate Plan B if the published hazards exceed the plan.
- Fill or stage water containers.
- Charge phones, headlamps and power banks.
- Send the trip brief to the trusted contact.
- Pack dry clothing and bedding in protected bags.
Before driving
- Check alerts and roads again.
- Confirm the driver is rested and the load is secure.
- Tell the trusted contact that the group is departing.
- Plan to arrive with enough daylight to inspect and pitch the site.
At the site
- Stop and inspect overhead branches, drainage and site boundaries.
- Identify the safest exit and lightning shelter.
- Pitch and stake the shelter before spreading equipment.
- Establish food-storage and wet-gear zones.
- Save enough light and energy for bedtime tasks.
Parks Canada’s Camping 101 emphasizes checking location-specific rules for permits, fires, pets, clean campsites and waste. Read the page for your actual destination; generic camping advice cannot know today's closure or tonight's food-storage order.
After the trip: make the second trip easier
Before unpacking becomes archaeological:
- dry the tent and sleep system;
- replace used fuel, batteries and first aid supplies;
- record what was unused, missing or annoying;
- save the campground and site notes;
- notify the trusted contact that you returned;
- change only one or two systems before the next trip.
The first trip is successful if the group returns safely with enough information to plan a better second one. It does not need to look effortless.
FAQ
What type of camping is best for a first trip?+
Frontcountry car camping at a developed, reservable campground is the most forgiving starting point. Prefer one or two nights, potable water, toilets, a staffed contact and a manageable drive so mistakes do not become remote-travel problems.
How far in advance should you book a campsite?+
There is no universal booking window. Check the official page for the exact campground and dates, note its release time, and read location-specific cancellation and no-show terms before paying. Popular sites may require planning months ahead, while other inventory is released later.
How long should a first camping trip be?+
One or two nights. One night works as a systems test; two nights gives you a full day without immediate teardown. Choose the shorter option when weather, children, health needs or uncertainty make an easy exit more valuable.
What should you test before a first camping trip?+
Pitch and repack the tent, inflate every pad, check sleeping gear against the forecast, operate the stove outdoors according to its instructions, run every light, inspect the first aid kit and save maps and reservations offline.
What is the most important camping Plan B?+
Write triggers and actions before leaving: where to shelter from lightning, when weather or road conditions mean leaving, where you will go if the site closes, and when your trusted contact should seek help if you miss check-in.
Do you need to buy camping gear for the first trip?+
No. Borrowing, renting or booking equipped camping can reduce both cost and premature purchases. Whatever the source, inspect and test the exact shelter, sleep, light and cooking systems before relying on them.
Sources reviewed
Fact-checked Sep 4, 2026
These references support factual or safety-sensitive claims in this article. Access dates show when our editors last verified the source.
- National Park Service — Trip Planning Guide
Official source · Accessed Sep 4, 2026
- National Park Service — Backcountry Camping
Official source · Accessed Sep 4, 2026
- Parks Canada — Camping 101
Official source · Accessed Sep 4, 2026
- Recreation.gov — Reservation Policies
Official source · Accessed Sep 4, 2026
- National Weather Service — Lightning Outdoors
Official source · Accessed Sep 4, 2026
- U.S. Consumer Product Safety Commission — Portable Heaters and Camping Equipment
Official source · Accessed Sep 4, 2026